(This is part one, of my three part post on Destructo's bedroom re-do.)
As some of you know, we have been working on Destructo's bedroom for
Why would we "customize" his room to be solely Mustang territory, instead of just cars in general? Well, If you don't already know, Studly not only loves cars, but he eats, sleeps and dreams them. He especially loves Ford Mustangs. Fortunately for him, Destructo has inherited some of that same love for cars. Thus, this is the 3rd of three car themed bedrooms, and the 2nd of Mustang themed bedrooms. However, I have to say I love this one the most, which is good because it definitely took the most work!
I'd have to say that one of my favorite pieces in the room is his dresser.
Originally, I wanted to get an actual Craftsman Tool chest, like the one that Studly has in the garage:

However, that was definitely NOT in our budget, so I had to get him this dresser, instead:
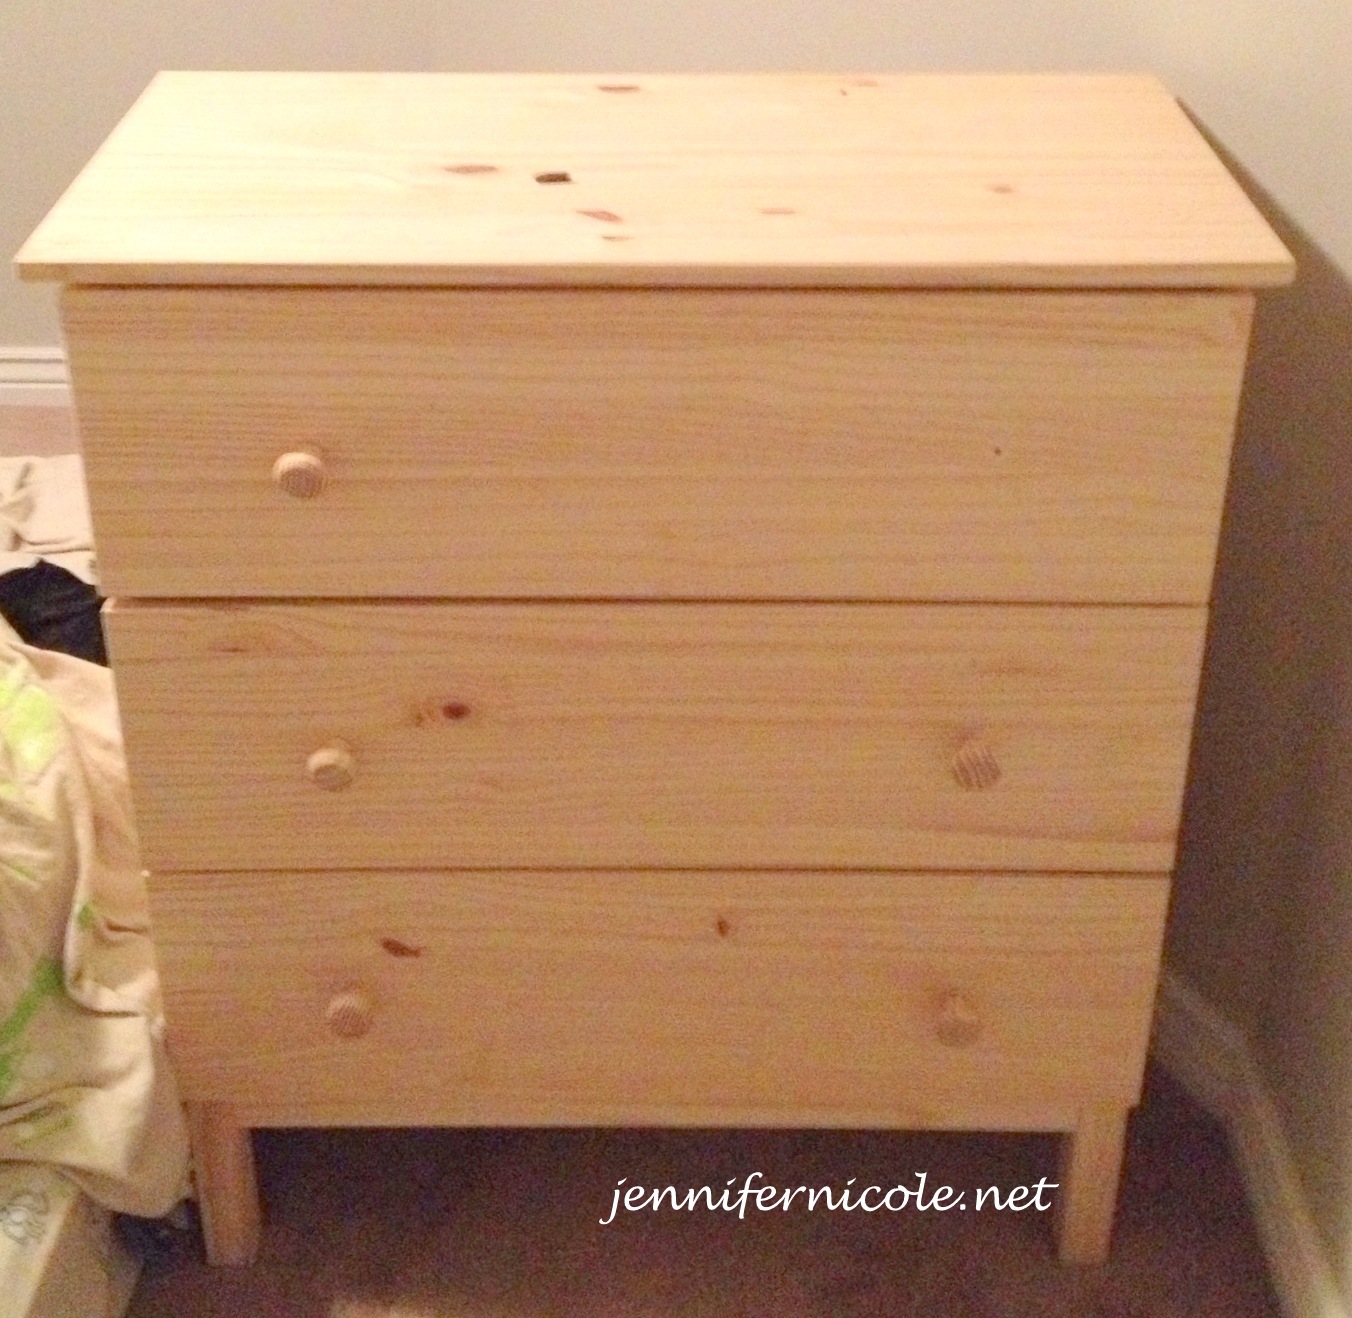 | ||
| Sure, I had already removed a knob, but at least I remembered to get a "before" pic, right? |
It was an Ikea "Tarva" Dresser for about $80 and didn't exactly say, "Hey, I totally go with a car themed bedroom!", so I had to fix that.
First, I took off the knobs and puttied the holes then sanded, puttied, and sanded some more.

After I got done with that,
The next thing I had to tackle was the "handles". At first I was going to use these handles from Lowes:

However, they were pretty expensive and didn't give the dresser a very authentic look, so I had to look for something else that I could use and I finally found it after walking up and down almost every aisle in search for anything that resembled the "handles" you see on the tool chests. I found it in the flooring section. It was a simple aluminum flooring threshold that fit the profile I needed perfectly. It was also just over $1, which made it even better! I picked up three of them and went on my merry way.
.jpg)
The "thresholds" were about 3 feet in length, so we just cut them to the length of the drawers with some wire cutters and then I spray painted them black. We also wrapped a little duct tape around the ends of them being that they were aluminum and the edges were still sharp enough that I was worried about someone cutting themselves on them. Then, we just screwed them on. It was pretty simple and it gave the "look" that I wanted.
 |
| I take such great pictures of shadows. |

After we got the badge on, we only had one final thing to do, and that was to saw off the legs of the dresser and replace them with casters, just like we had done on the ottoman.

...and that was it!
It was probably one of the easiest and cheapest projects I have ever done!
 |
| "Move your butt, Harley!" (She likes to photo bomb) |
Here are a couple more pictures sans dog butt:


I can't wait to show you the rest of the room, including the coolest wall treatment that I have ever done!
No comments:
Post a Comment
Tell me what you think! I love reading all of your comments!