I've been meaning to post Destructo's room reveal for quite a while and finally decided that I better go ahead and stop procrastinating and get it done today, so here you go:
The story of Destructo's bedroom makeover.
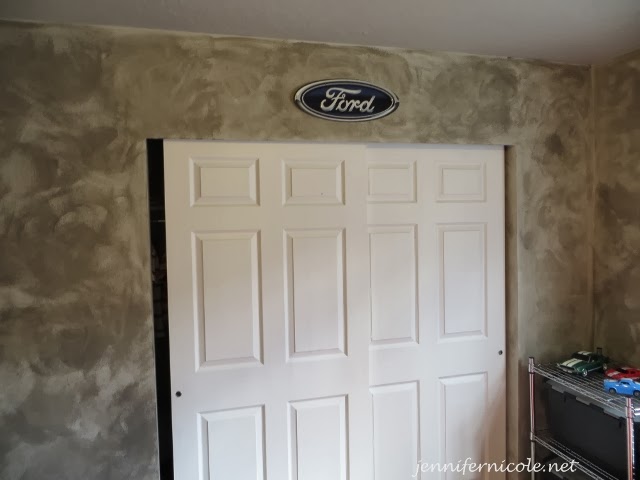
If you haven't noticed already this house is infected with the color beige, which I consider to be far too boring so, of course, the first thing I had to do in the room transformation was to turn the yucky beige walls into walls that resembled a garage.
I wanted the "garage"walls to have the "look" of cement with some texture to add interest to them, so I picked up two cans of flat paint, one in light gray and one in dark gray, from Sherwin Williams along with glaze which I had tinted with black. Then I went over to Lowes and picked up some venetian plaster and this little spatula thingy:
.jpg)
I thought it would be a pretty easy thing to do, but there were a few little issues that I had to deal with:
Fail #1: After watching a few "how-to" videos on YouTube, I realized that venetian plaster was going to take way too long and decided to take it back. I did not want to re-experience the P.I.A.of Diva's Polka Dot bedroom EVER AGAIN.
Fail #2: Instead of the venetian plaster, I got this great idea (again,from YouTube) to buy tissue paper to create the texture I wanted, which I planned on putting on the walls and then painting over.
.jpg)
However, once again, I realized that there were some issues that I hadn't taken into consideration.
1.The tissue paper was even messier than I thought it would be (which is usually the case, though).
2. The tissue paper kept ripping all over the place and wouldn't stick to the walls in the way I wanted it to.
3. Studly reminded me that we were still renting and that maybe this was not going to be seen as very cool by our landlord, who had given us permission to paint, but not to go all "Jen-Style" with it.
 |
| (Yes, I swore like a sailer during this failed attempt.) |
So, after two fails, I decided to go with a 3rd option:
I painted the walls with the lighter flat gray paint and then mixed the tinted black glaze with the darker shade of gray. I couldn't remember the ratio the guy at Sherwin Williams told me to use (Okay, I probably wasn't listening too closely when he told me...) so, I just kind of eye-balled it...because I'm super detail-oriented, like that.
When I applied the glaze, I tried a couple of methods in order to get the textured look. First, I used rags, but the glaze dried too fast on them, making it hard to "blend in" with the wall paint. Then, I decided to use plastic bags, because I've learned from previous experience that paint does not dry very fast on plastic bags. This method worked a lot better (and a lot faster) for me and soon the walls began to look like this:

I noticed after I was finally finished with the walls that the white baseboards were a little too stark against them, so I went ahead and painted those black. I wanted to paint the bedroom side of his door and the closet doors,too, but Studly convinced me that I probably shouldn't ( Dang him and his practical mind!).

I also changed out the outlet covers and found this really cool light switch cover (which was entirely too expensive, but I just couldn't resist):

The next part was constructing the garage door that I had pictured in my mind for the last couple of years for his room, which you can read about here.

After I was finally finished with the painting and the garage door had been assembled, it was time to find a new bed for him. His first bed was one of those Little Tykes toddler size car beds, and he was totally heartbroken when he grew out of it, so I decided to see if I could find him a twin size one and thanks to the magical workings of KSL (what most people here use instead of Craigslist). I found one for pretty cheap and we went and picked it up.
After that, it was time to find some storage solutions for his 92 billion toys. I found a toolbox at Lowes that I really liked that could be used as a toy box:
.jpg)
Then, I remembered the lovely sibling rivalry that exists in this family and realized that there was a strong possibility that one of them could end up locking the other one in the "toy box" and nixed the idea.
Instead, I went with the alternative solution of wire garage style shelving and these bins:

Destructo did already have one of those cubical storage units to use for storage as well, but the problem was that it was the maple color and the bins didn't match the new colors of the room, which didn't really work for me. I was going to sell it and get another unit in a different color, but then Diva asked if she could decorate it with duct tape. Being the cool mom that I am, I threw caution to the wind and told her she could. I figured that it was probably going to end up in disaster, but I wanted to give her the opportunity to express her creative side.
I'll admit, I totally underestimated her:

She used silver duct tape for the insides and front edges, black and red stripes on the sides and then did a checkerboard pattern in black and white on the top. I personally think she did a pretty awesome job!

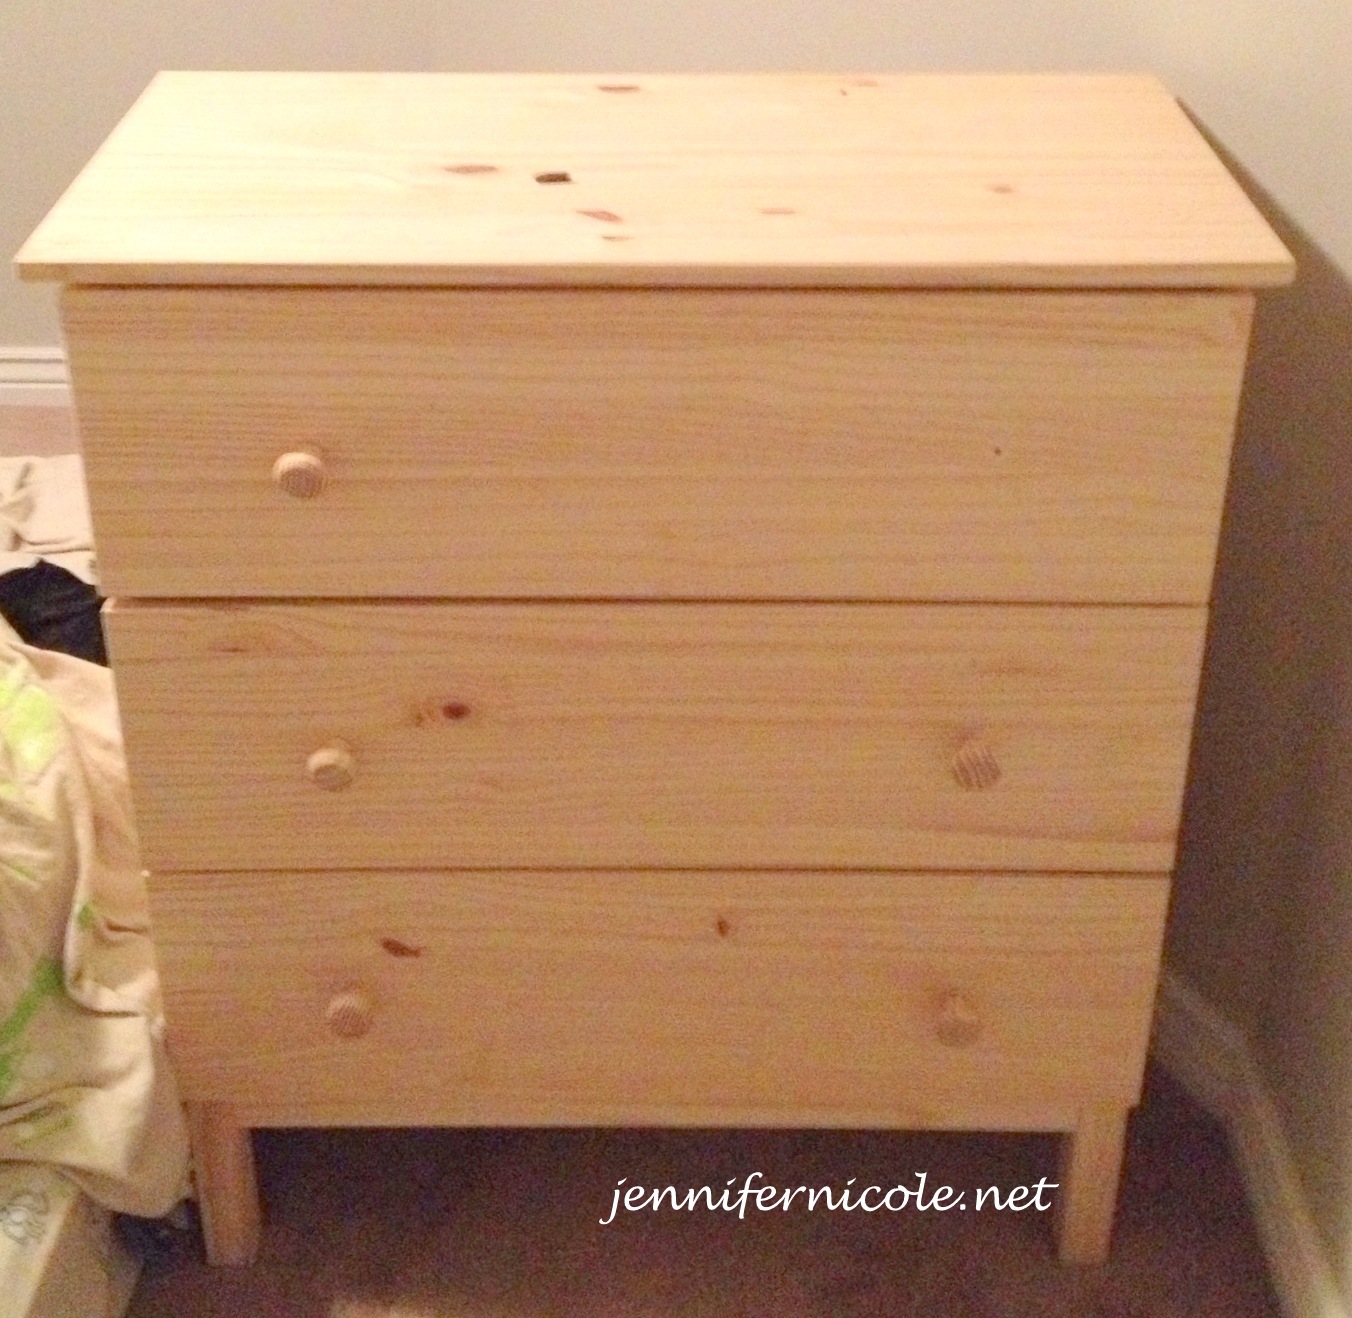
The next piece of furniture to go in the room was the dresser that I had redone, which you can read about in this post:

First, we had to make sure this included a picture of his own daddy's car:

Then, we used a bunch of tin Mustang signs from his room in one of our other houses, so I used those along with a couple more and a lamp I found at Hobby Lobby and a metal figurine of the running pony, (which if dropped on your toe, really freakin' hurts!):

...and now, for the best part of the blog post: The Before and After shots!
Goodbye, ugly beige!


Hello, Jr. Mustang fan's little piece of heaven (on a budget)!
 |


The shelf on top of the dresser still needs to be hung...
My favorite part of the room is the poster you see above, though. It may seem like an ordinary poster, but it holds a very special meaning for our family. In fact, I'm actually getting pretty teary as I am writing this part of the post.
As you can see, the poster (which I'm sure Studly would like you to know is in commemoration of the 35th anniversary of the Mustang.) has several signatures sprawled all over it. These signatures, are from all of the members of our Mustang club who were part of the club back then.

However, it is one signature in particular that makes this poster so special:

The signature is our friend John's, who was a founding member of our Mustang club and a great friend, who passed away last year due to cancer. He was a genuinely nice guy, who was also a great husband and father and we feel so lucky to have known him. We miss him and his "signature style" of long-sleeve tee shirt and shorts all of the time and hope he's up there doing some wicked burnouts in some tricked out Mustang as we speak (although it's probably more like 12 in his case).

.jpg)




.jpg)


